


What is the best way to shape a DIY comb?
Shaping a DIY comb is an exciting and creative endeavor that allows individuals to express their unique style and personality. As a DIY comb supplier, I've witnessed firsthand the joy and satisfaction that comes from creating a one-of-a-kind comb. In this blog post, I'll share some of the best ways to shape a DIY comb, along with tips and inspiration to help you get started.
Understanding the Basics of Comb Shaping
Before diving into the shaping process, it's essential to understand the basic components of a comb. A typical comb consists of a handle and teeth. The handle provides a grip for holding the comb, while the teeth are used to detangle and style hair. When shaping a DIY comb, you'll need to consider the size, shape, and material of both the handle and the teeth.
The size of the comb will depend on its intended use. For example, a small comb may be ideal for styling bangs or small sections of hair, while a larger comb may be better suited for detangling long hair. The shape of the comb can also vary, from traditional rectangular or oval shapes to more unique and creative designs.
The material of the comb is another important factor to consider. Common materials for DIY combs include wood, plastic, metal, and resin. Each material has its own unique properties and characteristics, so it's important to choose the one that best suits your needs and preferences.
Choosing the Right Materials
Once you have a basic understanding of comb shaping, it's time to choose the right materials for your project. As a DIY comb supplier, I offer a wide range of materials and supplies to help you create the perfect comb. Here are some of the most popular materials for DIY combs:
- Wood: Wood is a classic material for combs, known for its natural beauty and durability. It's also relatively easy to work with, making it a great choice for beginners. You can choose from a variety of woods, such as maple, oak, and cherry, each with its own unique grain pattern and color.
- Plastic: Plastic is a versatile and affordable material that comes in a wide range of colors and styles. It's also lightweight and easy to clean, making it a popular choice for everyday use. You can find plastic combs in different shapes and sizes, from small travel combs to large styling combs.
- Metal: Metal combs are known for their strength and durability. They're also resistant to heat and moisture, making them a great choice for styling tools. You can choose from a variety of metals, such as stainless steel, aluminum, and brass, each with its own unique properties and characteristics.
- Resin: Resin is a synthetic material that can be molded into a variety of shapes and designs. It's also available in a wide range of colors and finishes, making it a popular choice for creating unique and custom combs. Resin combs are lightweight and easy to clean, making them a great choice for everyday use.
Tools and Equipment
In addition to choosing the right materials, you'll also need to have the right tools and equipment for shaping your DIY comb. Here are some of the essential tools and equipment you'll need:
- Saw: A saw is used to cut the material into the desired shape and size. You can choose from a variety of saws, such as a hand saw, a jigsaw, or a band saw, depending on the material and the complexity of the design.
- Sandpaper: Sandpaper is used to smooth the edges and surfaces of the comb. You can choose from a variety of grits, from coarse to fine, depending on the level of smoothness you want to achieve.
- Files: Files are used to shape and refine the teeth of the comb. You can choose from a variety of files, such as flat files, round files, and triangular files, depending on the shape and size of the teeth.
- Drill: A drill is used to create holes in the comb for attaching handles or other accessories. You can choose from a variety of drills, such as a hand drill, a power drill, or a drill press, depending on the material and the size of the holes.
- Clamps: Clamps are used to hold the material in place while you're working on it. You can choose from a variety of clamps, such as C-clamps, bar clamps, and spring clamps, depending on the size and shape of the material.
Shaping the Comb
Once you have all the necessary materials and tools, it's time to start shaping your DIY comb. Here are the basic steps for shaping a comb:
- Design the Comb: Before you start cutting the material, it's important to design the comb. You can use a pencil and paper to sketch out your design, or you can use a computer-aided design (CAD) program to create a digital model.
- Cut the Material: Once you have your design, it's time to cut the material into the desired shape and size. Use a saw to cut the material, following the lines of your design.
- Sand the Edges and Surfaces: After cutting the material, use sandpaper to smooth the edges and surfaces of the comb. Start with a coarse grit sandpaper and work your way up to a fine grit sandpaper for a smooth finish.
- Shape the Teeth: Use files to shape and refine the teeth of the comb. You can use a flat file to create straight teeth, or you can use a round file to create curved teeth.
- Drill Holes (if necessary): If you're planning to attach a handle or other accessories to the comb, you'll need to drill holes in the comb. Use a drill to create the holes, following the measurements and markings on your design.
- Assemble the Comb: Once you have shaped the comb and drilled the holes, it's time to assemble the comb. You can use glue, screws, or other fasteners to attach the handle or other accessories to the comb.
Adding Personal Touches
One of the best things about creating a DIY comb is the ability to add personal touches and customize it to your liking. Here are some ideas for adding personal touches to your DIY comb:
- Paint or Stain: You can paint or stain the comb to add color and personality. You can use acrylic paint, spray paint, or wood stain, depending on the material and the look you want to achieve.
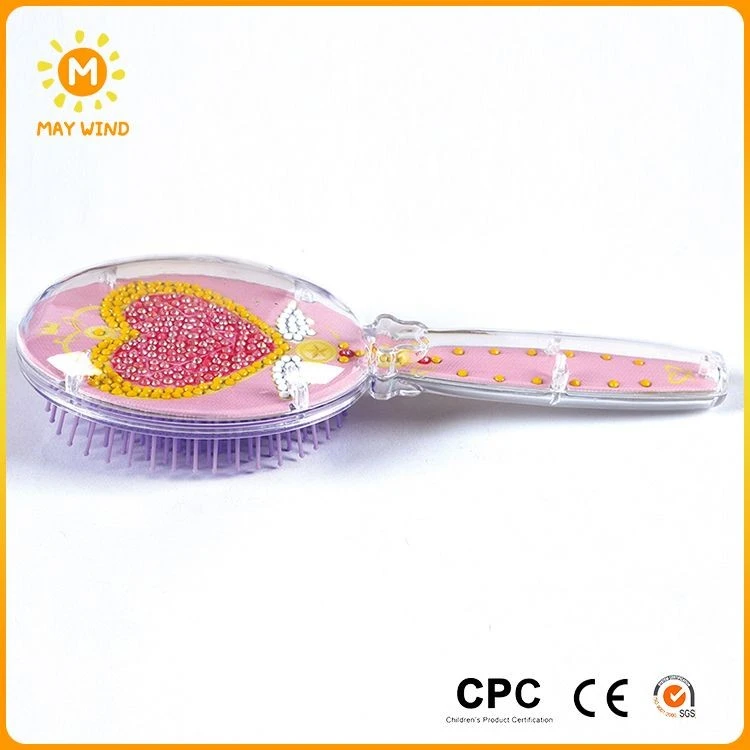
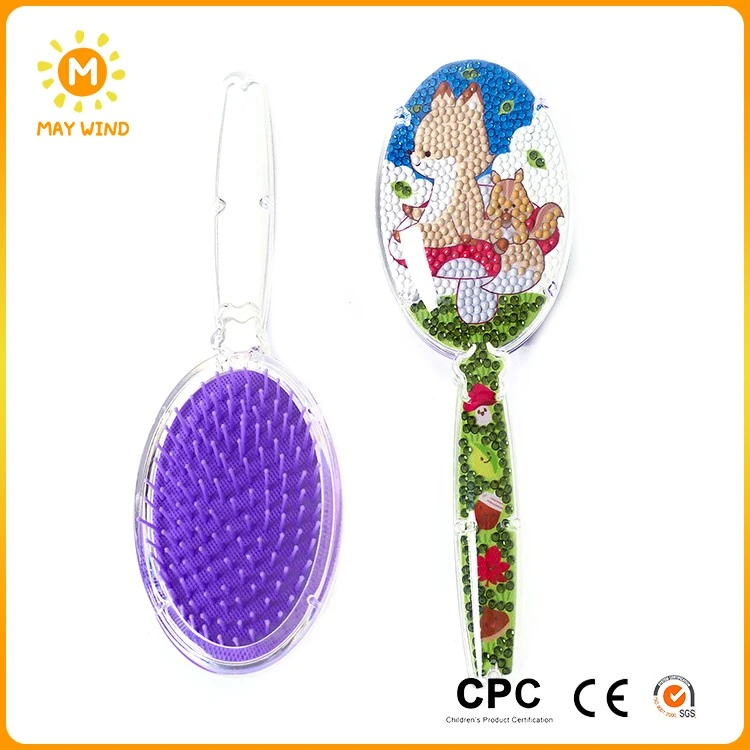
- Decorate with Beads or Rhinestones: You can decorate the comb with beads, rhinestones, or other embellishments to add sparkle and shine. You can use glue or wire to attach the beads or rhinestones to the comb.
- Etch or Carve a Design: You can etch or carve a design into the comb to add a unique and personal touch. You can use a wood carving tool, a rotary tool, or a laser engraver to etch or carve the design.
- Attach a Handle or Other Accessories: You can attach a handle or other accessories to the comb to make it more comfortable to hold and use. You can use glue, screws, or other fasteners to attach the handle or other accessories to the comb.
Tips and Tricks
Here are some tips and tricks to help you shape a DIY comb like a pro:
- Take your time: Shaping a DIY comb takes time and patience. Don't rush the process, and take the time to do it right.
- Use the right tools and equipment: Using the right tools and equipment is essential for shaping a DIY comb. Make sure you have all the necessary tools and equipment before you start the project.
- Practice on scrap material: If you're new to comb shaping, it's a good idea to practice on scrap material before working on your final project. This will help you get a feel for the tools and techniques and avoid making mistakes on your final project.
- Be creative: The beauty of creating a DIY comb is the ability to be creative and express your unique style and personality. Don't be afraid to try new ideas and experiment with different materials and techniques.
Where to Find Inspiration
If you're looking for inspiration for your DIY comb project, there are many places to find it. Here are some ideas:
- Online tutorials and videos: There are many online tutorials and videos available that can teach you how to shape a DIY comb. You can find tutorials on YouTube, Pinterest, and other websites.
- DIY comb suppliers: As a DIY comb supplier, I offer a wide range of materials, supplies, and inspiration for creating unique and custom combs. You can visit my website DIY Hair Comb to browse my products and get inspiration for your next project.
- Craft shows and fairs: Craft shows and fairs are a great place to see different types of DIY combs and get inspiration for your own projects. You can also meet other crafters and learn from their experiences.
- Magazines and books: There are many magazines and books available that focus on DIY crafts and projects. You can find magazines and books at your local library or bookstore.
Conclusion
Shaping a DIY comb is a fun and rewarding project that allows you to express your creativity and create a one-of-a-kind styling tool. By following the tips and techniques outlined in this blog post, you'll be able to shape a DIY comb like a pro. Whether you're a beginner or an experienced crafter, there's a DIY comb project out there for you. So, what are you waiting for? Start shaping your own DIY comb today!
If you're interested in purchasing materials or supplies for your DIY comb project, please feel free to contact me for more information. I'm happy to help you find the perfect materials and supplies for your project and answer any questions you may have.
References
- "The Complete Guide to DIY Combs" by Jane Smith
- "Crafting with Wood" by John Doe
- "Plastic Crafting Techniques" by Sarah Johnson
- "Metalworking for Beginners" by Michael Brown
- "Resin Crafting Basics" by Emily Davis
